Tutorial #2 - Retouching with the GIMP
To follow this tutorial you need to download the GIMP (Gnu Image Manipulation Program): Download
Then you need to find an image to retouch. If you just want to learn about retouching, use google image search. Search for something like "portrait".
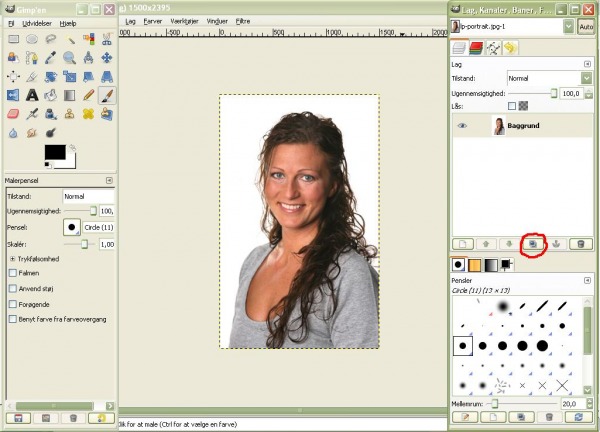
I'll be using this image (I have no rights what so ever, so thanks to everybody who made this picture (the woman on it (Lotte Paarup), the photgrapher and everybody else, who may have helped):

Open your image with GIMP, and start out with duplicating the layer (the button marked with a red "circle" in the image below):
Sorry for the danish text in the images. If anybody knows how to get rid of the default language, and get it to be in english, please tell me :D
Okay, because you duplicated the layer, you can make all kinda changes without worrying about ruining the image, since you always can go back to the original ;)
The smudge tool is the most important tool in retouching. When working with the smudge tool, it's easier to use something like a Wacom tablet. You don't have to, I just find it easier.
Select the smudge tool, and set the last slider to something about 25:
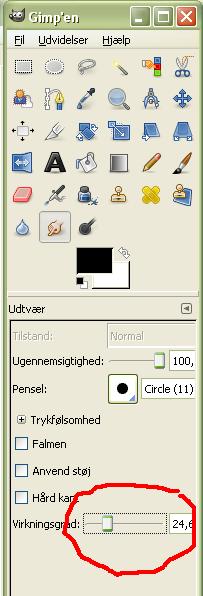
Now you smudge everything (exept for hair, eyes, lips, teeth and clothes :P (You can smudge the lips, but be careful)). That's how you get rid of blemishes etc.
This is the "hard" part. That means it's gonna take a lot of time. Don't make long strokes in the same direction. It's better to make short zig-zag movements.
You might want to start out with something less than 25. That's up to how much time you'll "waste" on this.
When you're satisfied with your smudging, save your work.
Here's what my image looked like after 15-30 min. of smudging:

Now the rest is about color. So go to your color menu and play with the different settings until, it looks just like you want it to. Curves is a very good choice. Don't forget to save!
That's it. Hope you liked it, please go to the guestbook and leave a comment.
If you got trouble with something please contact me :D
Here's my final result:

Tutorial #1 - Music
This is my first tutorial, so please dont expect too much ;)
This is not a tutorial for people with no understanding of music notation, sorry.
But for you, who know something about music, and want to make your own soundtracks for movies or whatever, here's a tutorial for you:
First a tip: A moll makes a good base for dramatic music ;)
Now the tutorial:
1) Get music studio producer (don't worry, it's free), look for the link in the link section (when you get to the Frieve page look for "Music Studio Producer", download that, not "Music Studio Independence".
The great thing about music studio producer is, that it can host VST(i)
When you got it installed, don't open it yet :P
First you want to download some free VST's (in the link section you can find some links to site's I like)
You'll have to save the .dll files to the folder called plugin (it's inside whatever folder you got the program in), else they won't work.
When they are saved, start music studio producer. Just press O.K. on the two "pop-up" windows that'll come up, when you start music studio.
If your computer is a little slow, please be patient and wait until music studio is loaded ;)
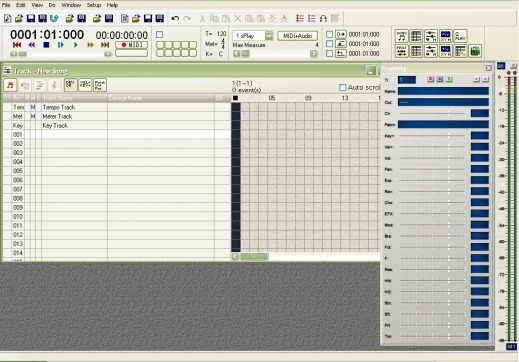
When it's loaded it probably will look a little like this:
Now close the "property"-window, maximize the "Track - New song"-window and press the "Patch | Vol | Pan"-button.
Now it should look like this:

Now we want to get started making some music!
So decide which VST you want to use. I'm gonna use a VST called "Spook keys"
First you want to give the "instrument" a name: In the "track name"-section, left-click the box under "key track" and begin typing.
Just to the right of it, there's a box with "device name", left-click and choose "A 1|----"
Leave "Ch" (channel) alone, that's just as it should be.
In the "Patch"-box, left-click and choose your VST from the list (I took "Spook keys").
Your virtual synthesizer is gonna pop up. Close that.
Now your first track will look something like this:
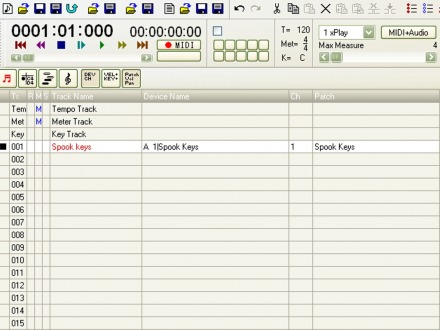
See the little black box to the left? That means the track is selected.
Now press the (what's it called?!) G-clef-button. A score-roll window should pop up:
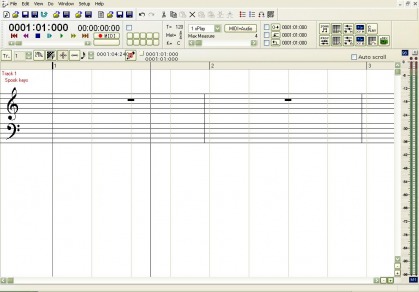
Press the button with two red 16th notes on top of a pencil. That enables you to write notes.
I hope you'll get the rest by experimenting. If not feel free to contact me
